Self-hosting Unleash with Kubernetes
In this blog post, we will learn how to self-host Unleash in a Kubernetes cluster.
Why feature toggles?
While developing new features for our end-users, we often encounter these 2 problems:
- Features are not developed and rolled out in a single night. It often takes several days or even weeks before a feature is fully developed, tested, and deployed. In such cases, we usually have to deploy a piece of that feature to production, and we would need to hide that piece until the feature is fully completed and ready.
- Even after the feature reaches end-users, until we are fully confident in the feature, fail-safe methods are usually employed. One of such methods is to hide the feature away from the users to prevent it from being used.
With the feature toggle, we then can simply turn the feature’s flag off and on to hide or show the feature to users.
Why Unleash?
Before Unleash, we have tried Firebase Remote Config to some success. However, what it did not have was a local deployment or an emulator. This feature was crucial to us, because:
- Local development: in Manabie, any developer can spin up the entire end-to-end infrastructure in their own machine and start working on their task without having to worry about breaking any of the production clusters. However, Firebase Remote Config is a shared instance. Using Firebase would not meet our separation-of-concerns standards.
- CI/CD: when running end-to-end tests, it is desirable to run the tests against different feature toggle configurations. We need to ensure that our code works with both cases of the flag being turned on and off. It would be disastrous if it does not.
Deploying Unleash in a Kubernetes cluster
1. Prerequisites
Using helm is a bit of an overkill here. However, our Manabie’s CI/CD pipeline uses helm to deploy
so we will use it here as well.
For this guide, I am using the following versions
$ kubectl version -o yaml
clientVersion:
  buildDate: "2021-12-07T18:16:20Z"
  compiler: gc
  gitCommit: ab69524f795c42094a6630298ff53f3c3ebab7f4
  gitTreeState: clean
  gitVersion: v1.23.0
  goVersion: go1.17.3
  major: "1"
  minor: "23"
  platform: linux/amd64

$ minikube version
minikube version: v1.24.0
commit: 76b94fb3c4e8ac5062daf70d60cf03ddcc0a741b

$ helm version
version.BuildInfo{Version:"v3.7.1", GitCommit:"1d11fcb5d3f3bf00dbe6fe31b8412839a96b3dc4", GitTreeState:"clean", GoVersion:"go1.16.9"}
The versioning requirements are not strict. However, if you encounter any strange errors, you can try installing the listed versions first.
2. Setting up the project
First, let’s start minikube and cache some required images. With this, we will not have to
re-download them everytime we start minikube.
minikube start
minikube cache add postgres:14.1-alpine3.15
minikube cache add unleashorg/unleash-server:4.4.4
minikube cache add unleashorg/unleash-proxy:0.4.0
the output will be similar to this:
😄  minikube v1.24.0 on Ubuntu 21.10
✨  Automatically selected the docker driver
👍  Starting control plane node minikube in cluster minikube
🚜  Pulling base image ...
🔥  Creating docker container (CPUs=2, Memory=7900MB) ...
🐳  Preparing Kubernetes v1.22.3 on Docker 20.10.8 ...
  ▪ Generating certificates and keys ...
  ▪ Booting up control plane ...
  ▪ Configuring RBAC rules ...
🔎  Verifying Kubernetes components...
  ▪ Using image gcr.io/k8s-minikube/storage-provisioner:v5
🌟  Enabled addons: storage-provisioner, default-storageclass
🏄  Done! kubectl is now configured to use "minikube" cluster and "default" namespace by default
❗  "minikube cache" will be deprecated in upcoming versions, please switch to "minikube image load"
❗  "minikube cache" will be deprecated in upcoming versions, please switch to "minikube image load"
❗  "minikube cache" will be deprecated in upcoming versions, please switch to "minikube image load"
3. Deploying Unleash
i. Unleash server
Because we have not installed anything yet, there should be nothing in the default namespace.
Let’s check:
$ kubectl get pods
No resources found in default namespace.
If you encounter errors like The connection to the server localhost:8080 was refused - did you specify the right host or port?,
then probably you have not run minikube start yet.
If everything is fine, we can proceed to installing unleash in our cluster:
# Clone the example repository
$ git clone https://github.com/manabie-com/manabie-com.github.io
$ cd manabie-com.github.io/content/posts/unleash-self-host/examples

# Install the helm chart
$ helm upgrade --wait --timeout 1m --install unleash ./ -f values.yaml
Release "unleash" does not exist. Installing it now.
NAME: unleash
LAST DEPLOYED: Fri Dec 17 14:55:30 2021
NAMESPACE: default
STATUS: deployed
REVISION: 1
TEST SUITE: None
Checking the pods again
$ kubectl get pods
NAME                                READY   STATUS    RESTARTS      AGE
unleash-5584bbcb89-lkb2c            1/1     Running   1 (80s ago)   82s
unleash-postgres-5bd6969647-4g4sg   1/1     Running   0             82s
The Unleash server is deployed in pod unleash-xxxxxxxxxx-yyyyy (unleash-5584bbcb89-lkb2c in this case).
Its status is Running and readiness is 1/1, so it is ready to serve requests.
To access the server, we need to expose it from within minikube cluster to our host machine
by port-forwarding in a separate terminal:
$ kubectl port-forward deploy/unleash 4242
Forwarding from 127.0.0.1:4242 -> 4242
Forwarding from [::1]:4242 -> 4242
Go to http://localhost:4242/unleash in your browser, you should see the Unleash login page:
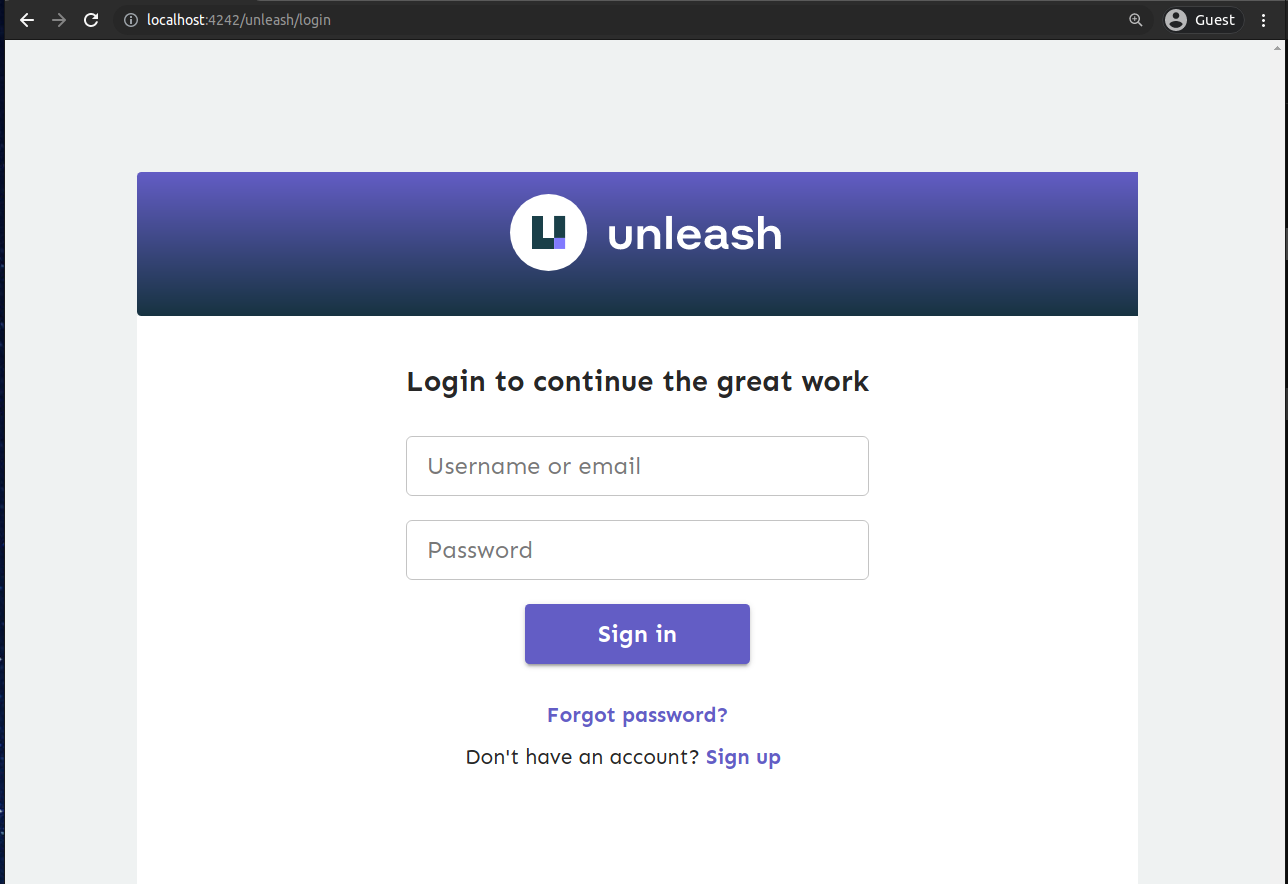
Login with the default account that Unleash created for us:
- Username:
admin - Password:
unleash4all
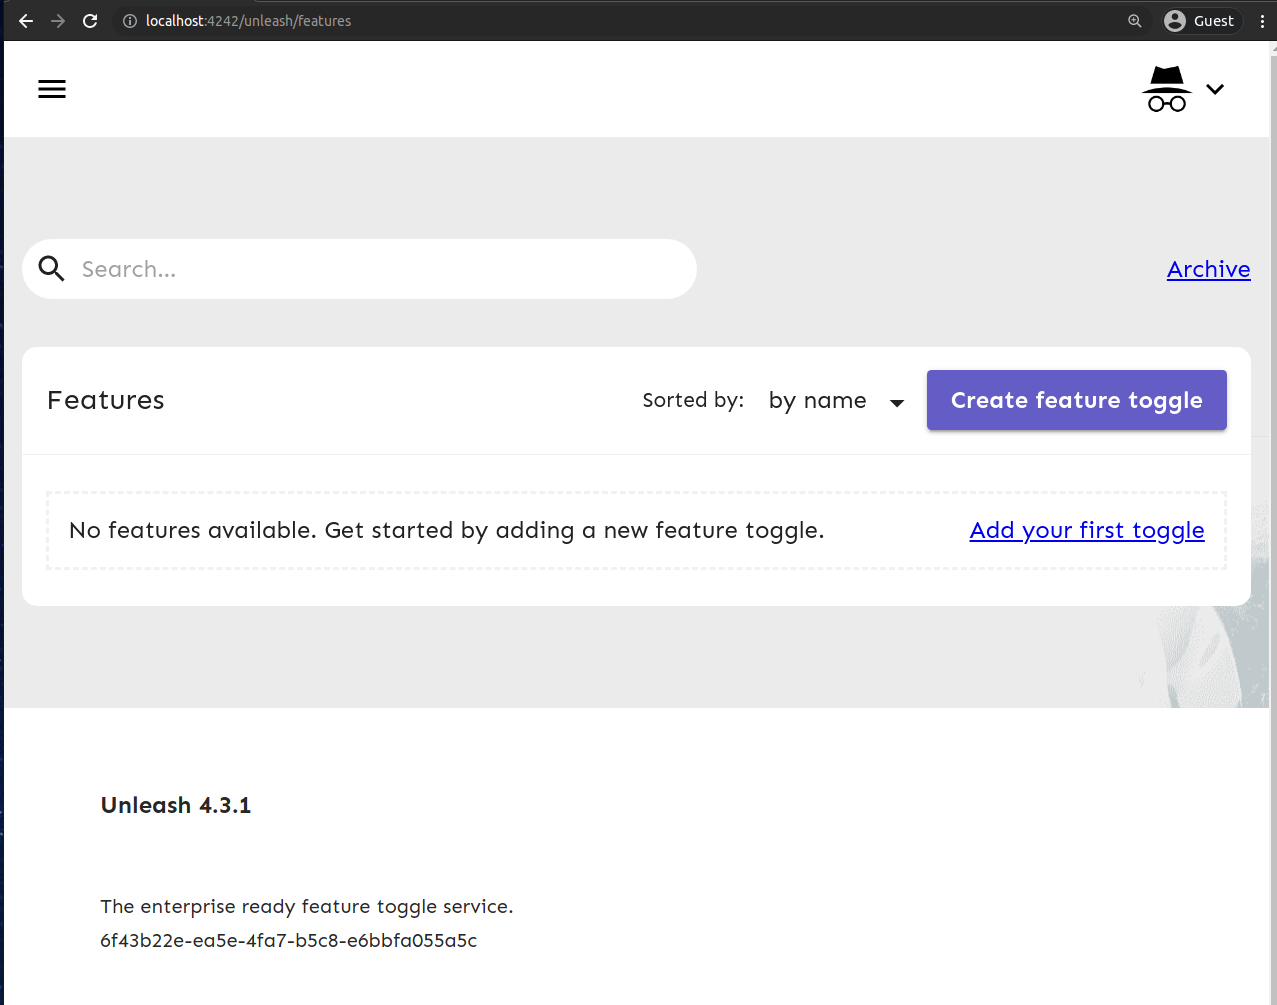
then you will go to the features page (which is empty right now since we have not added
any feature flags yet). We will add them in the next section.
ii. Add new feature flags and retrieve it client-side
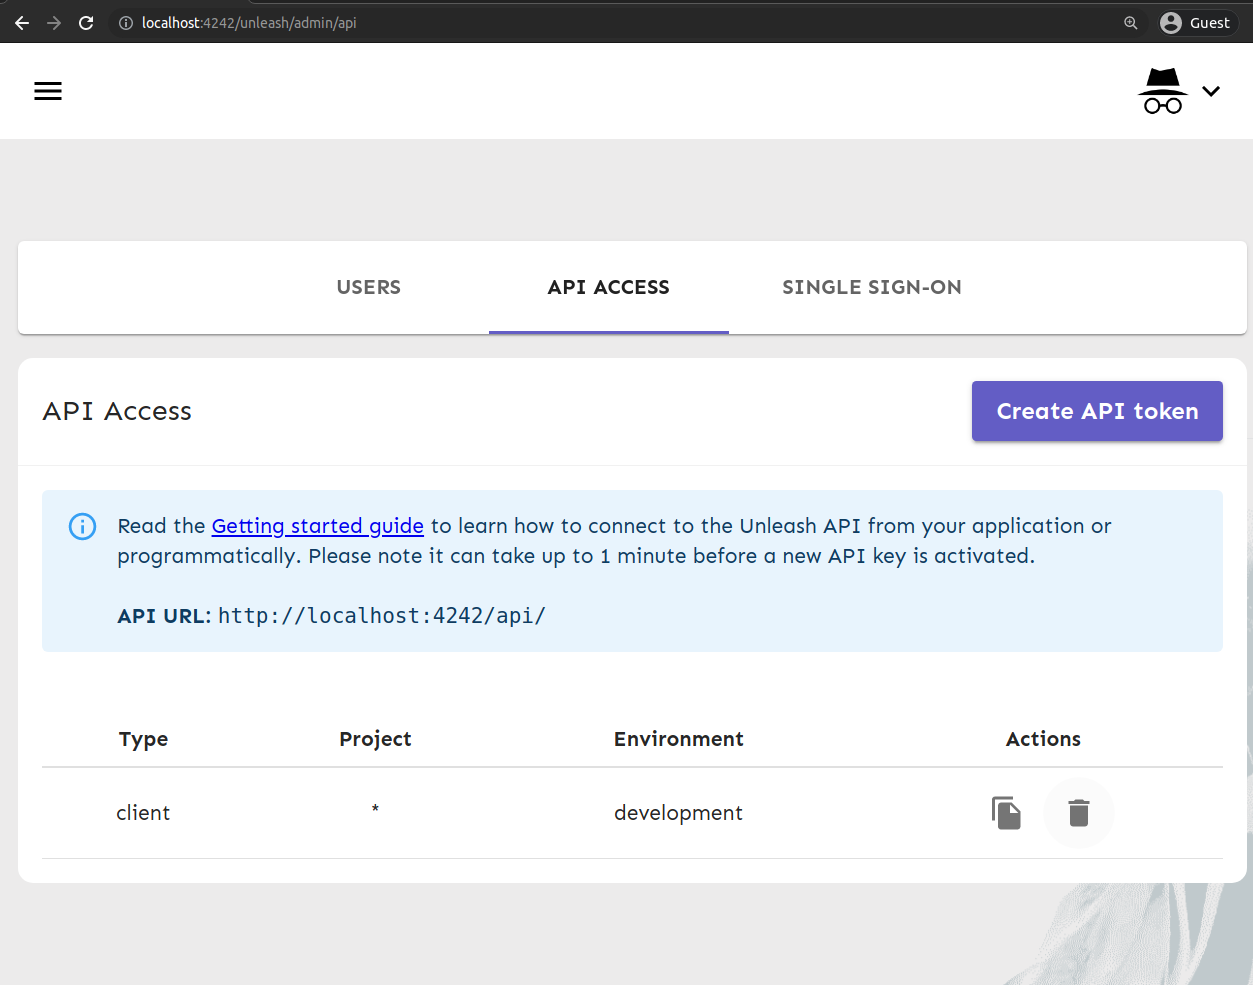
By default, clients do not have access to the server since we are enabling authentication for Unleash. You need to follow this guide to create an API token. I am adding a new API token with:
- Username:
myclient - Token Type:
Client - Project:
ALL - Environment:
development
Then, we can use the API token to make API requests to the server. In my case, my secret value is
*:development.1095962067dcb586929bdc7a118b1c2111cf3866649fe5c07e8bd71e.
$ export UNLEASH_API_TOKEN="*:development.1095962067dcb586929bdc7a118b1c2111cf3866649fe5c07e8bd71e"
$ curl -H "Authorization: $UNLEASH_API_TOKEN" http://localhost:4242/unleash/api/client/features
{"version":2,"features":[],"query":{"environment":"development"}}
It returns "features":[] because we have not added any feature toggles yet.
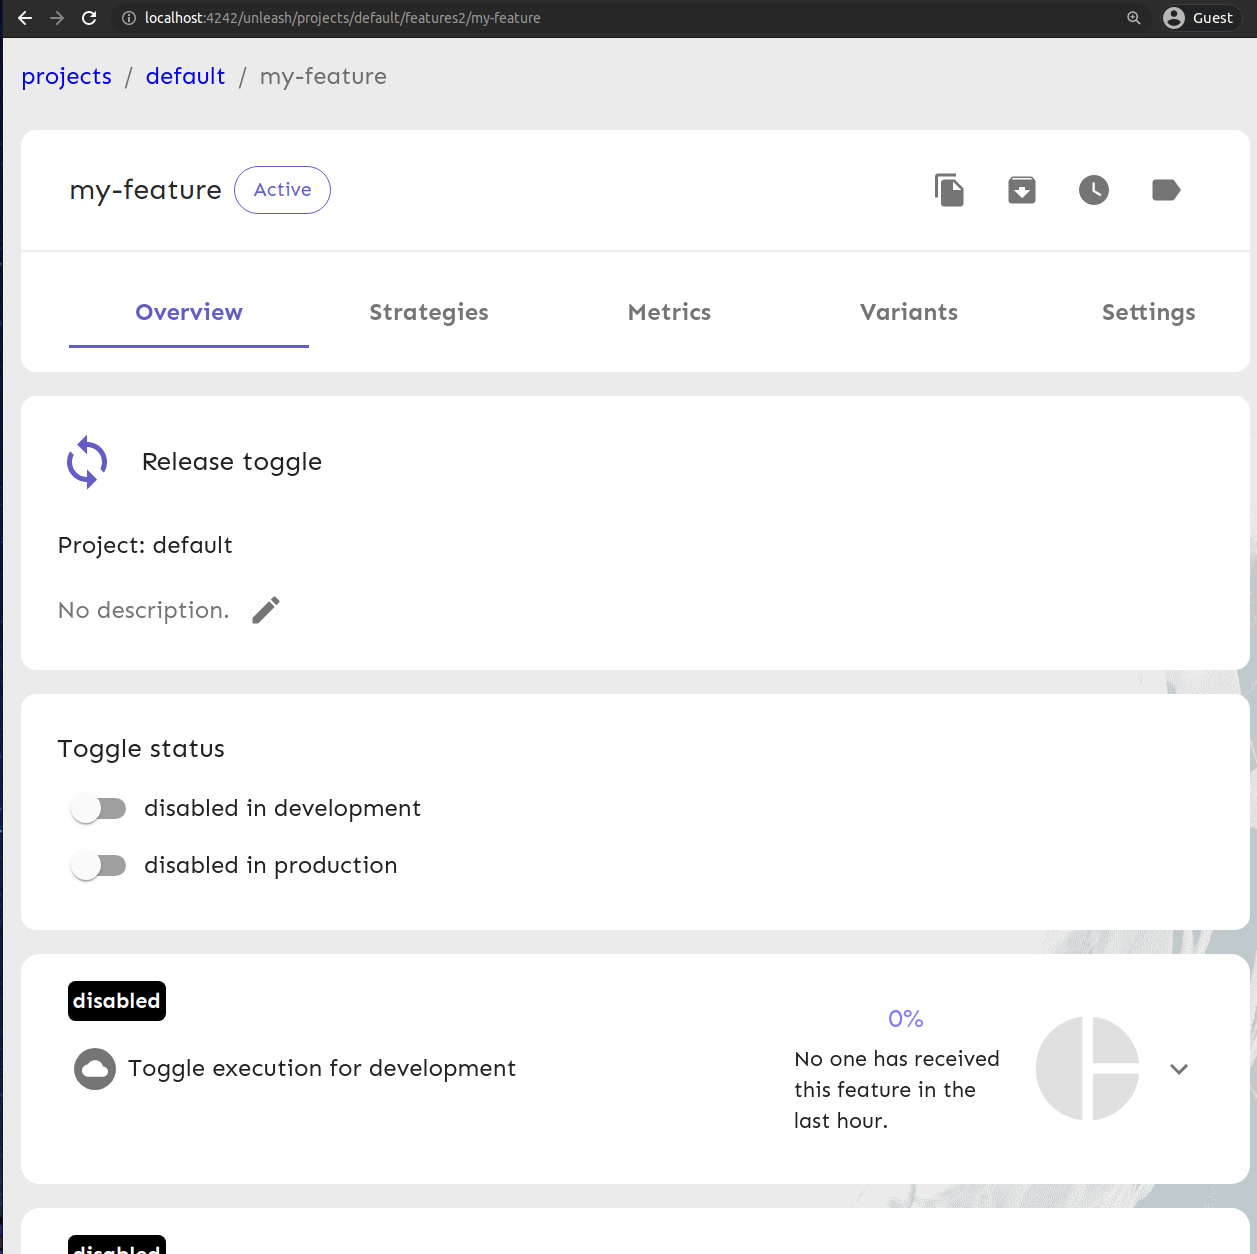
In the Unleash features page http://localhost:4242/unleash/features, click on Create feature toggle.
Choose:
- Name:
my-feature - Toggle type:
Release - Description can be left empty
then press Create. You should see my-feature toggle:
# If you are reusing the same terminal, skip the export step
$ export UNLEASH_API_TOKEN="*:development.1095962067dcb586929bdc7a118b1c2111cf3866649fe5c07e8bd71e"
$ curl -H "Authorization: $UNLEASH_API_TOKEN" http://localhost:4242/unleash/api/client/features
{"version":2,"features":[{"strategies":[],"enabled":false,"name":"my-feature","description":"","project":"default","stale":false,"type":"release","variants":[]}],"query":{"environment":"development"}}
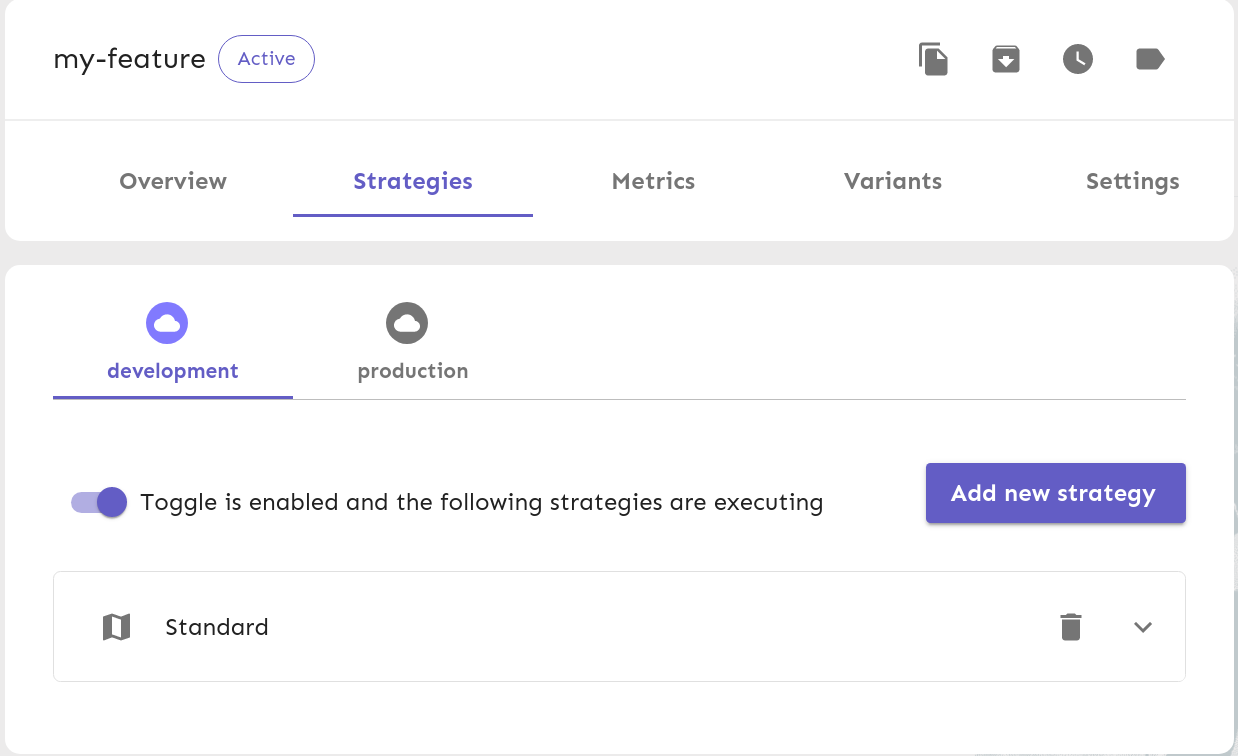
We can see the toggle my-feature now. Let’s enable it.
Right now, my-feature cannot be enabled for development because it does not
have a Strategy for development environment yet.
We need to:
- Go to
Strategiestab - Click on
Add new strategy - Drag and drop the
Standardstrategy card from the left panel to the right. (you can also click on the+icon) - Click
Saveto save the strategy

Then, we can enable the feature by clicking on the toggle:
$ export UNLEASH_API_TOKEN="*:development.1095962067dcb586929bdc7a118b1c2111cf3866649fe5c07e8bd71e"
$ curl -H "Authorization: $UNLEASH_API_TOKEN" http://localhost:4242/unleash/api/client/features
{"version":2,"features":[{"strategies":[{"name":"default","constraints":[],"parameters":{}}],"enabled":true,"name":"my-feature","description":"","project":"default","stale":false,"type":"release","variants":[]}],"query":{"environment":"development"}}
It is now enabled ("enabled":true).
iii. Add Unleash proxy
Usually, we would use Unleash SDKs to interact with Unleash. However, for the front-end SDKs:
For security and performance reasons, the front-end SDKs do not communicate directly with your Unleash instance. Instead, they go via the Unleash Proxy.
Therefore, in cases where we need, for example React SDK, we need to also set up the proxy.
I have already added the proxy in the deployment chart. We can enable deploying it
by setting unleashProxy.enabled to true (so that the blocks {{- if .Values.unleashProxy.enabled }}
would evaluate to true).
With that in mind, let’s redeploy Unleash with the proxy enabled:
$ export UNLEASH_API_TOKEN="*:development.1095962067dcb586929bdc7a118b1c2111cf3866649fe5c07e8bd71e"
$ helm upgrade --wait --timeout 1m --install unleash ./ -f values.yaml \
    --set=unleashProxy.enabled=true \
    --set=unleashProxy.secrets="proxy-secret" \
    --set=unleashProxy.apiToken="$UNLEASH_API_TOKEN"
Release "unleash" has been upgraded. Happy Helming!
NAME: unleash
LAST DEPLOYED: Fri Dec 17 20:42:28 2021
NAMESPACE: default
STATUS: deployed
REVISION: 2
TEST SUITE: None
Here, we are using the API token created in the previous step for the proxy.
The unleashProxy.secrets is the secret that clients use to make requests to the proxy.
Then port-forward from port 4243 to access the proxy:
kubectl port-forward deploy/unleash-proxy 4243
then you can make request to the proxy from your machine:
$ curl -H "Authorization: proxy-secret" http://localhost:4243/proxy
{"toggles":[{"name":"my-feature","enabled":true,"variant":{"name":"disabled","enabled":false}}]}
4. Afterwords
curlis only used here for the sake of simplicity. In practice, we would use Unleash official SDKs- Sensitive data such as Postgresql’s password should be encrypted and stored in a secret.
- Do not use the admin account that Unleash created, or at least change its password. In our case, add an admin account with a safe password at bootstrap.
- When deploying the proxy, we need to manually create the API token using the UI. This can be tedious and error prone when deploying to a new environment. In practice, we also create an API token at bootstrap for the proxy, too.
Conclusion
In this blog, we have covered:
- Deploying Unleash in a local Kubernetes cluster (using Minikube)
- Creating a simple feature toggle and use
curlto retrieve it - Deploying Unleash with the proxy enabled
With that, our developers can install Unleash locally and start using it.